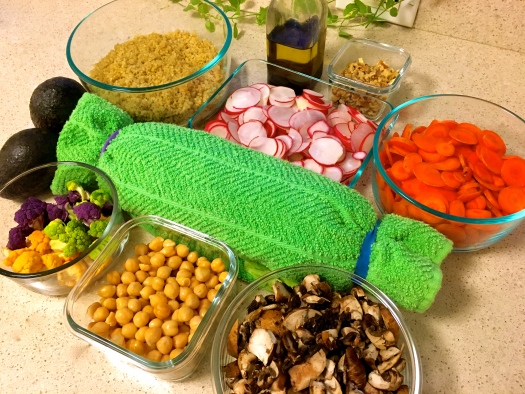
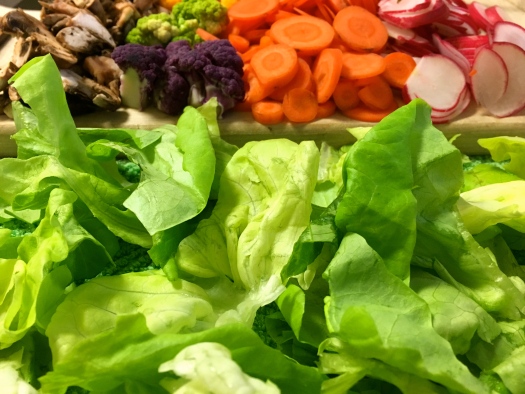
These delicious recipes are from my recent Healthy Fitness & Food Workshop. Make a bunch of them at the start of the week and have healthy, gourmet, whole foods to eat all weeklong. 
Kale Pesto Spread
I created this recipe after being inspired by the vegan pesto recipe in The Mediterranean Vegan Kitchen by Donna Klein.
INGREDIENTS:
- 3 cups raw kale, rinsed thoroughly
- 1/4 cup raw walnuts (lighly toast for a more rich flavor, or use them raw)
- 2 cloves garlic, chopped and sauteed
- 3 tablespoons olive oil (use 6 tablespoons to make a pesto sauce for pasta)
- 1 teaspoon salt or to taste
DIRECTIONS:
Put the kale, walnuts, garlic and salt into a food processor. Blend until smooth, scraping down the sides as needed. Add the olive oil and blend until smooth and well mixed.


Carrot and Grapefruit Salad with Honey and Cardamom
This simple, delicious recipe is a great way to enjoy something sweet while getting in lots of vegetables and fruits.
INGREDIENTS:
- Grate or spiralize 4 large raw carrots. It is especially beautiful to use multi-colored carrots if available
- 1 large grapefruit sliced into small bite size pieces
- 1-2 tablespoons honey
- 1/8 teaspoon cardomom (freshly ground is preferable)
Toss all the ingredients together and adjust honey and cardamom to taste. This gets better the longer it sits. Also, the juice at the bottom of the bowl is wonderfully sweet, and rich in flavors.
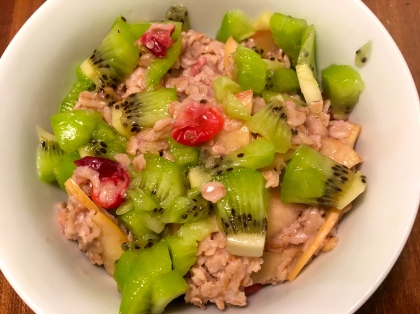
Chia Seed Pudding
This recipe makes a perfect breakfast or desser. Make up a big bowl and store it in the fridge to use throughout the week.
INGREDIENTS:
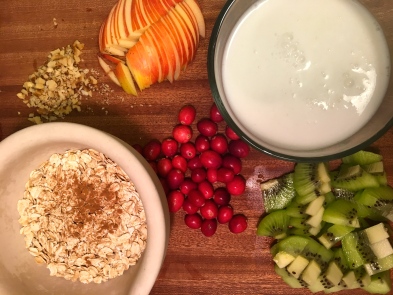
- 4 tablespoon chia seeds
- 1 cup unsweetened non-dairy milk, I prefer soymilk
- 1 teaspoon vanilla extract (optional)
- 1/2-1 tablespoon pure maple syrup or other natural sweetener (optional)
- Fresh or frozen fruit
Mix the chia seeds, milk, vanilla, and maple syrup together and allow to sit overnight or for at least 2 hours. It will be prettier if you add the fruit after, but I usually add it in for the soaking so that it is ready immediately and I can take it to go.

Roasted Purple Cauliflower
INGREDIENTS:
- One large head cauliflower, washed, patted dry, and chopped into florets
- 2 tablespoons vegetable oil
- 1/4 teaspoon salt
With your hands, stir the cauliflower in the oil and salt in a large bowl until coated well. Put on a baking dish in the oven around 400 degrees. Let roast for 20 minutes before stirring and shaking the pan. Repeat until the cauliflower have become soft and juicy.
Quinoa Salad w/ Lemon, Avocado, and Pistachios from Vegetable Literacy by Deborah Madison
INGREDIENTS, plus my notes:
- 2 heaping cups of cooked quinoa (I used red, the recipe calls for black, you can use white or any color. It will not effect taste so much as presentation).
- 8 ounces or more of greens (such as beet greens, chard, spinach), cooked, drained, and finely chopped. I used an enormous head of chard. It will boil down so don’t worry about putting in too many greens!
- Grated zest of 1 lemon
- 3 Tablespoons of olive oil
- 1/2 teaspoon ground cumin
- sea salt to taste
- 10 mint leaves, slivered
- A heaping Tablespoon of chives
- 1 Avocado; I used 2 small ones 🙂
- Crumbled Feta, ricotta salata, or smoked ricotta; I did not include cheese
- Pistachio nuts, coarsely chopped
DIRECTIONS, plus my notes:
To cook the quinoa, first rinse 1 cup of quinoa under cold water to remove the saponin, which can taste bitter. Boil 2 cups of water in a saucepan, then add a 1/4 teaspoon salt and the quinoa. Lower the heat, cover the pan, and simmer until the liquid is absorbed and the spiral of the germ is visible, 12 to 15 minutes. Let it sit for 5 minutes. If there is still liquid in the pot, but it seems like it’s cooked, drain the water out.
Toss the cooked quinoa with the finely chopped cooked greens, using your fingers to distribute the greens.
To make the vinaigrette, whisk together the lemon zest and juice, oil, cumin, and a pinch of salt. Pour it over the quinoa and greens, add the mint and chives, and toss to coat. Toss in the avocado and nuts, which last in the refrigerator all week without turning brown! Taste for salt and lemon.
Winter Squash Puree with Tahini, Green Onions, and Black Sesame Seeds from Vegetable Literacy, by Deborah Madison
INGREDIENTS, plus my notes:
- 2 Cups cooked winter squash. The squash can be cooked in advance or the day of. I roasted a large squash in the oven at 400 degrees for about 30-40 minutes. It made 3 cups squash, so I used it all
- 1/4 Cup tahini
- Sea salt
- 2 teaspoons olive oil
- 1 small bunch thin green onions, including a bit of the greens, thinly sliced (also known as scallions)
- 1 tablespoon sesame oil
- 2 teaspoons black sesame seeds, toasted in a dry skillet until fragrant, to finish. I did not toast them, and you can make this without the seeds, or with white sesame seeds
DIRECTIONS, plus my notes:
Heat the cooked squash in a saucepan over medium heat if it’s cold. Stir in the tahini and season to taste with salt.
While the squash is warming, heat the olive oil in a small skillet. When the oil is hot, add the green onions and cook to wilt slightly, about 2 minutes. Stir them into the squash and then stir in the sesame oil. Finish with the sesame seeds.
 Green Lentils with Roasted Beets and Lemon from Vegetarian Cooking for Everyone by Deborah Madison
INGREDIENTS, plus my notes:
- 5 beets, about 1 pound
- 1 teaspoon olive oil
- 1 cup french green lentils, you could use another kind of lentils
- 1 carrot, finely diced
- 1/2 small onion finely diced
- aromatics: 1 bay leaf, 4 parsley branches, 2 thyme sprigs
- 1 preserved lemon, or 2 teaspoons lemon zest, I used the lemon zest
- 1/3 cup chopped parsley
- 2 tablespoons chopped mint, plus mint for garnish
- Lemon Vinaigrette (see below for recipe)
DIRECTIONS, plus my notes:
Preheat the oven to 350 degrees. Peel the beets and cut them into small cubes. Toss the cubed beets with the oil, season with salt and pepper, and bake on a sheet pan until tender, about 35 minutes, stirring once or twice. Meanwhile, put the lentils in a pan with water to cover, add the carrot, onion, aromatics, and 1/2 teaspoon salt and bring to a boil. Lower the heat and simmer until tender but still a little firm, about 25 minutes. Drain well.
Toss the lentils with the roasted beets and the vinaigrette, the lemon zest, parsley and mint.
Lemon Vinaigrette from Vegetarian Cooking for Everyone by Deborah Madison
INGREDIENTS:
- 2 tablespoons fresh lemon juice
- 1 teaspoon finely chopped lemon zest
- salt and freshly milled pepper, I used regular black pepper
- 1 shallot
- 5 tablespoons extra virgin olive oil or to taste
DIRECTIONS, plus my notes:
Combine the lemon juice, zest, 1/4 teaspoon salt, and shallot in a small bowl. Let stand for 15 minutes, then whisk in the oil and season with a little pepper to taste. I don’t think that I let it sit for 15 minutes.

Muhammara (Red Pepper and Walnut Spread)
My sister in-law, Sammi, made it as an appetizer at a Christmas party and I think I probably ate the majority of it by myself!
When I made it for the workshop I was out of bread crumbs, so I threw in a small amount of toasted oatmeal. While the flavor was a little different, it was delicious and the texture came out just right.
http://cooking.nytimes.com/recipes/1017492-muhammara-red-pepper-and-walnut-spread
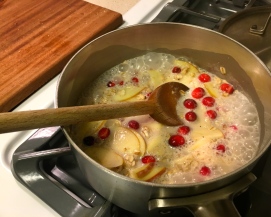
The Life Changing Loaf of Bread from the blog My New Roots
The Bread! I think this nut bread may have been the biggest hit of the workshop. It is a recent new staple in my kitchen thanks again to my sister-in law, Sammi. It takes a few minutes to throw all the ingredients together, soak overnight (or during the day) and then cook in the oven for 40 minutes. It is really easy. The only tricky thing is that you need psyllium powder to hold it together. You can find this at a supplement store like GNC.
The recipe is from a wonderful blog called My New Roots, which I strongly recommend in general. https://www.mynewroots.org/site/2013/02/the-life-changing-loaf-of-bread/
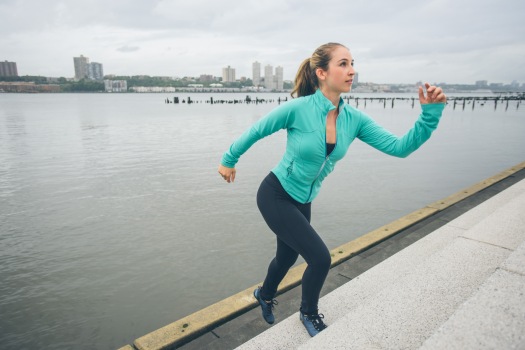
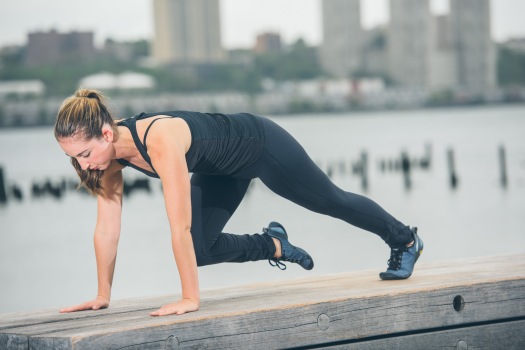
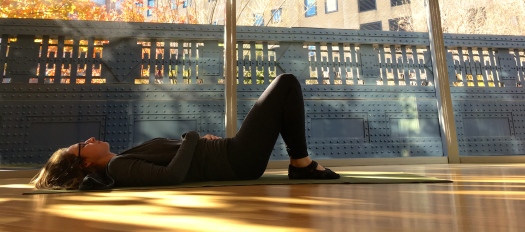
Morgana Tessler is a Certified Orthopedic Personal Trainer, Yoga, Pilates, Meditation and Barre Instructor based in NYC. Morgana offers private and group fitness sessions. For more information visit www.morgana.nyc Facebook, Instagram


 Morgana Tessler is a Certified Orthopedic Personal Trainer, Yoga, Pilates, Meditation and Barre Instructor based in NYC. Morgana offers private and group fitness sessions. For more information visit
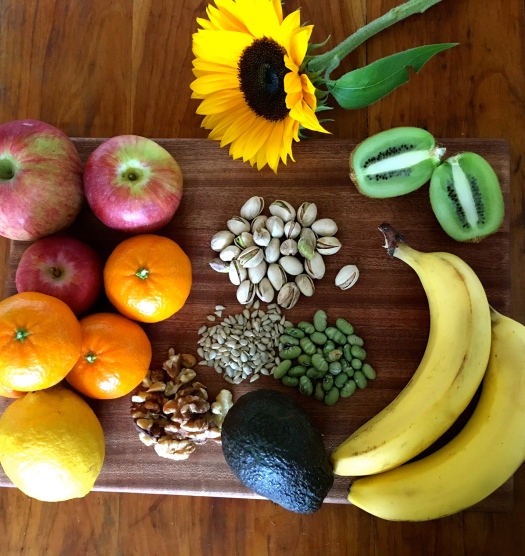
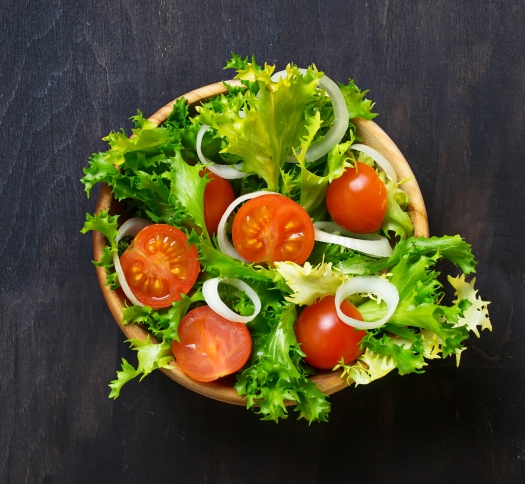
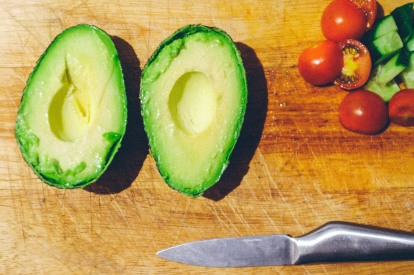 Tip 6: When in doubt add Avocado
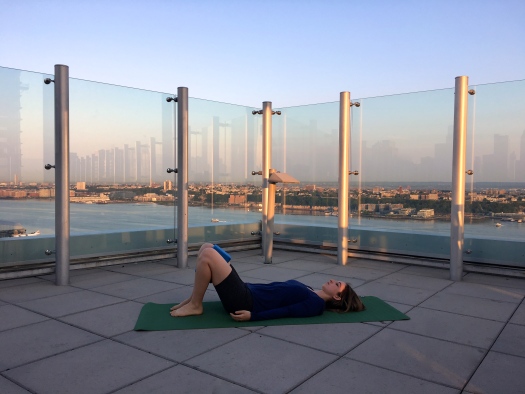
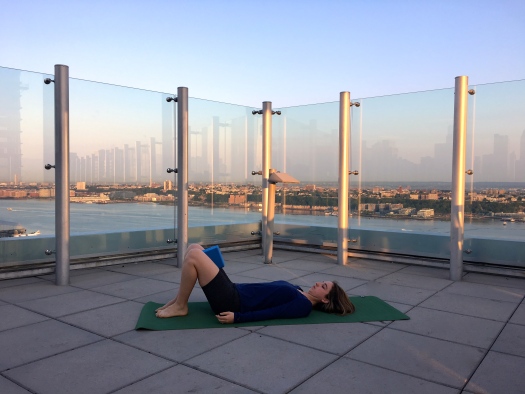
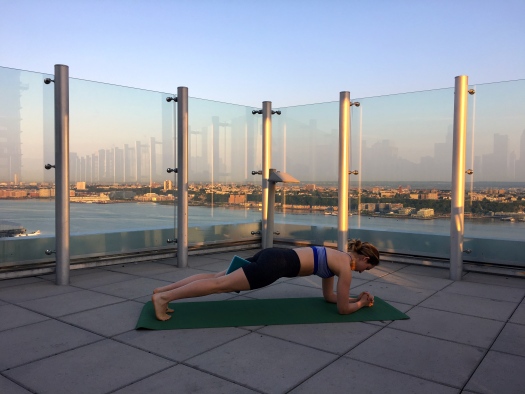


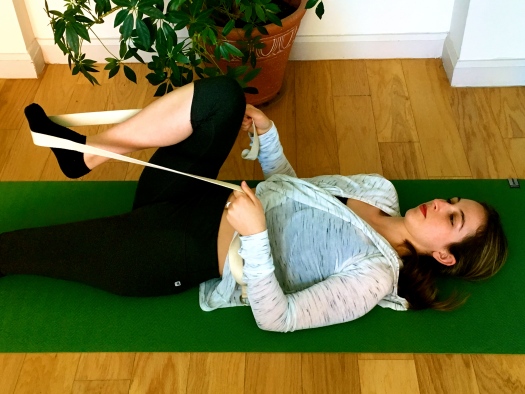
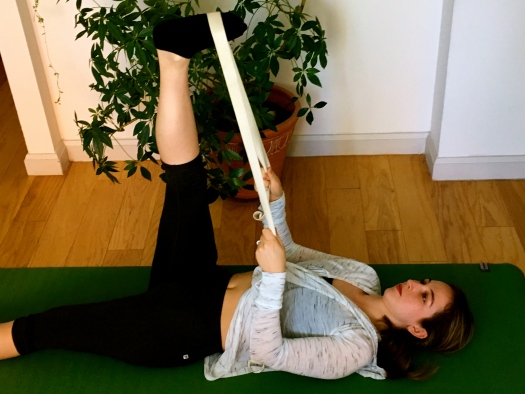
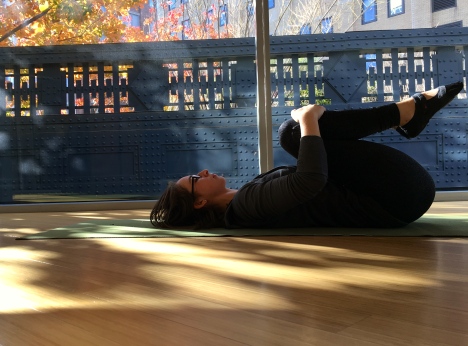
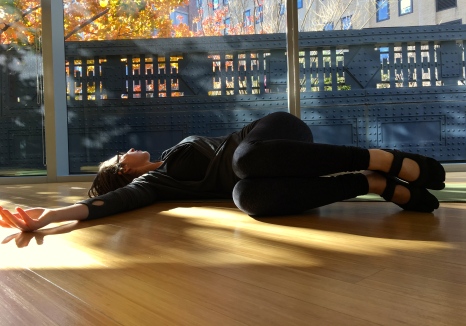
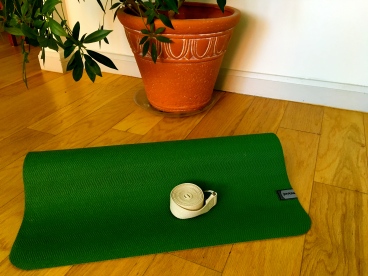 All you need to get started is a yoga strap, two minutes, and something comfortable to lay on such as a yoga mat or blanket.